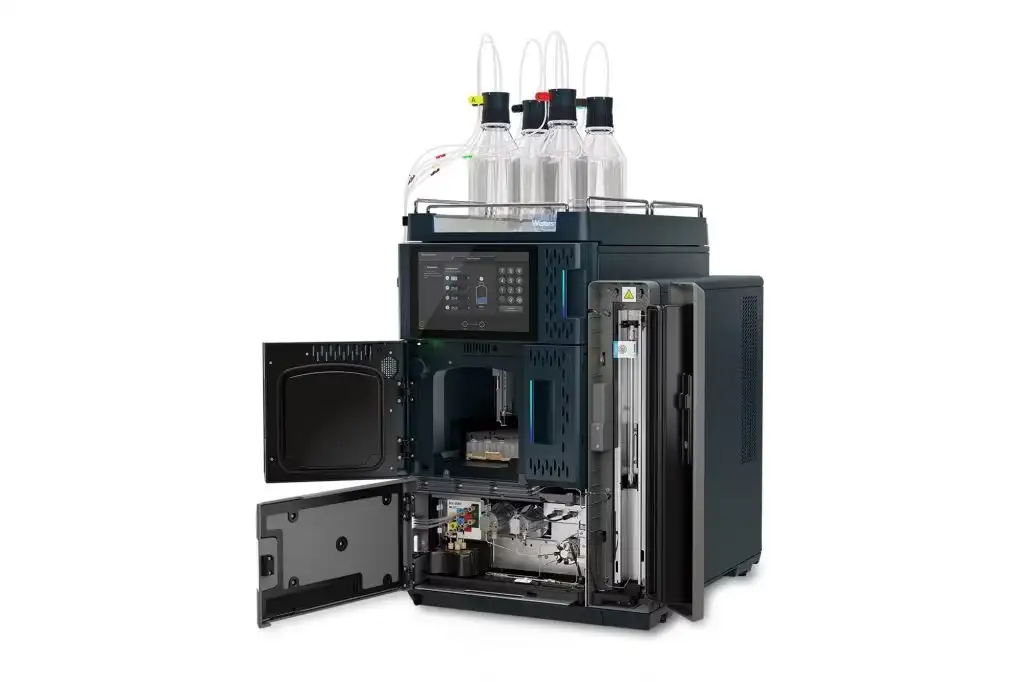
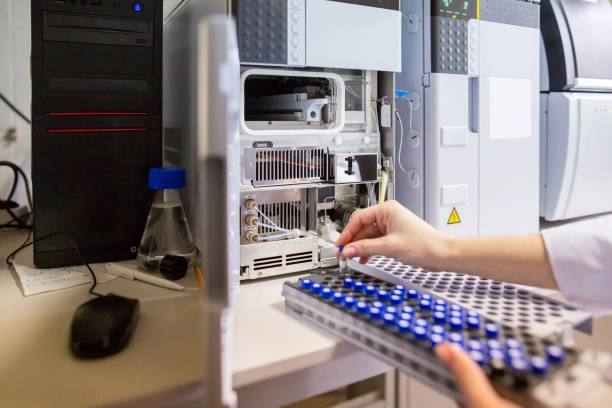
High-Performance Liquid Chromatography (HPLC) is a cornerstone technique in analytical chemistry, utilized for the separation, identification, and quantification of compounds in various samples. While HPLC is known for its reliability and precision, issues can arise during the sample injection phase that may compromise results. In this article, we will delve into common sample injection problems in HPLC, their potential causes, and effective troubleshooting strategies to help you maintain optimal performance.
Understanding the Importance of Sample Injection
The sample injection phase is critical in HPLC as it directly affects the efficiency and accuracy of the separation process. An improper injection can lead to problems such as peak distortion, poor resolution, and even loss of analytes. Therefore, identifying and addressing sample injection issues promptly is essential for obtaining reliable analytical results.
Common Sample Injection Problems
1. Inconsistent Injection Volume
Symptoms: Variable peak heights or areas, which can lead to inaccurate quantification.
Causes:
- Injector malfunction: The injector may not be calibrated correctly or could be malfunctioning.
- Viscosity differences: Samples with varying viscosities can affect the injection volume.
- Sample preparation errors: Inconsistent sample concentrations or volumes.
Troubleshooting Steps:
- Check Injector Calibration: Regularly calibrate your injector according to the manufacturer’s specifications to ensure consistent performance.
- Use a Consistent Viscosity: If working with samples of varying viscosities, consider diluting them to a consistent viscosity to promote uniform injection.
- Standardize Sample Preparation: Establish a standard operating procedure (SOP) for sample preparation to minimize variations in concentration and volume.
2. Poor Peak Shape
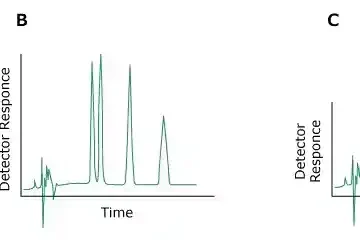
Symptoms: Asymmetric or broad peaks that indicate poor resolution or inaccurate quantification.
Causes:
- Overloading: Injecting too much sample can lead to saturation of the column.
- Injection speed: Rapid injections can disrupt the column bed and lead to poor peak shapes.
- Solvent mismatch: Differences between the mobile phase and the sample solvent can cause issues at the injection point.
Troubleshooting Steps:
- Optimize Sample Concentration: Reduce the concentration of the injected sample to avoid overloading the column.
- Control Injection Speed: Use a controlled injection mode to ensure a smooth and gradual introduction of the sample into the system.
- Use a Compatible Solvent: Ensure that the sample solvent is compatible with the mobile phase to prevent solvent-related issues at the point of injection.
3. Injector Leakage
Symptoms: Increased baseline noise, fluctuating signals, or unexpected pressure changes.
Causes:
- Worn seals: Over time, seals and gaskets can wear out, leading to leaks.
- Improper installation: Incorrectly installed components can result in leaks.
- Contamination: Dirt or debris in the injector can compromise the seal integrity.
Troubleshooting Steps:
- Inspect Seals and Gaskets: Regularly check seals for wear and replace them as needed. Follow manufacturer guidelines for recommended maintenance.
- Reinstall Components: If there are signs of leakage, ensure that all components are properly installed and tightened according to specifications.
- Clean the Injector: Regularly clean the injector to prevent contamination that may lead to leaks. Follow the manufacturer’s recommended cleaning procedures.
4. Blocked Injector Ports
Symptoms: Low sensitivity, high backpressure, or no flow.
Causes:
- Particulate matter: Undissolved solids or particulate matter in the sample can clog injector ports.
- Column degradation: Breakdown products from the column can accumulate in the injector.
Troubleshooting Steps:
- Filter Samples: Always filter samples using an appropriate filter (e.g., 0.45 µm) before injection to remove particulate matter.
- Regularly Check and Clean the Injector: Regular maintenance and cleaning of the injector ports are crucial for preventing blockages. Follow a maintenance schedule based on the frequency of use and the types of samples analyzed.

5. Incomplete Sample Transfer
Symptoms: Low or no peaks, which indicate that the sample did not transfer properly to the column.
Causes:
- Dead volume: Excessive dead volume in the injection system can trap sample, leading to incomplete transfer.
- Incorrect syringe or loop size: Using an inappropriate syringe or injection loop size can affect the volume of sample transferred.
Troubleshooting Steps:
- Optimize Injection Setup: Minimize dead volume by using appropriate connectors and reducing the length of tubing where possible.
- Select the Right Size: Ensure that the injection syringe or loop size matches the sample volume you intend to inject to facilitate complete transfer.
6. Sample Degradation
Symptoms: Changes in peak area or retention time, potentially indicating that the sample is degrading before or during injection.
Causes:
- Chemical instability: Some analytes are sensitive to light, heat, or oxygen and can degrade quickly.
- Prolonged storage: Samples stored for extended periods may undergo changes that affect their integrity.
Troubleshooting Steps:
- Use Proper Storage Conditions: Store samples in conditions that minimize degradation (e.g., dark, cool environments).
- Analyze Samples Promptly: Aim to analyze samples soon after preparation to reduce the risk of degradation.
7. Air Bubbles in the System
Symptoms: Irregular baseline, pressure fluctuations, and inconsistent flow rates.
Causes:
- Inadequate priming: Air not fully purged from the system can lead to bubbles forming in the injector.
- Leaks in the system: Air can enter the system through leaks, leading to bubble formation.
Troubleshooting Steps:
- Prime the System: Make sure to properly prime the HPLC system to remove any air bubbles before starting the analysis.
- Check for Leaks: Inspect the entire system for leaks and repair them promptly to prevent air from entering the system.
Best Practices for Sample Injection
To minimize sample injection problems in HPLC, consider implementing the following best practices:
- Regular Calibration and Maintenance: Establish a routine for calibrating and maintaining the HPLC system, including the injector, to ensure optimal performance.
- Consistent Sample Preparation: Develop and follow standardized procedures for sample preparation to minimize variability.
- Quality Control: Implement a quality control program that includes regular system suitability tests to monitor performance and identify issues early.
- Training and Education: Ensure that all personnel involved in HPLC operations are adequately trained in sample injection techniques and troubleshooting procedures.
- Documentation: Maintain detailed records of all injections, including any issues encountered and resolutions implemented. This documentation can help identify patterns and inform future troubleshooting efforts.
Troubleshooting sample injection problems in HPLC is essential for maintaining the integrity and reliability of your analytical results. By understanding common issues and their causes, you can implement effective troubleshooting strategies to resolve them. Regular maintenance, standardized procedures, and proper training are key components in preventing injection problems and ensuring optimal HPLC performance. At HPLC Professionals, we are dedicated to supporting your analytical needs and helping you achieve consistent, high-quality results in your chromatography applications. By adhering to best practices and remaining vigilant about potential issues, you can enhance the efficiency and accuracy of your HPLC analyses.


